Our Favorite Bread Recipes
Here at Leaping Lamb Farm, we have two bread recipes that we love to bake for guests, but since we can’t have any guests at the moment (and we are SAD!!), we thought we’d share these recipes for you to bake at home.
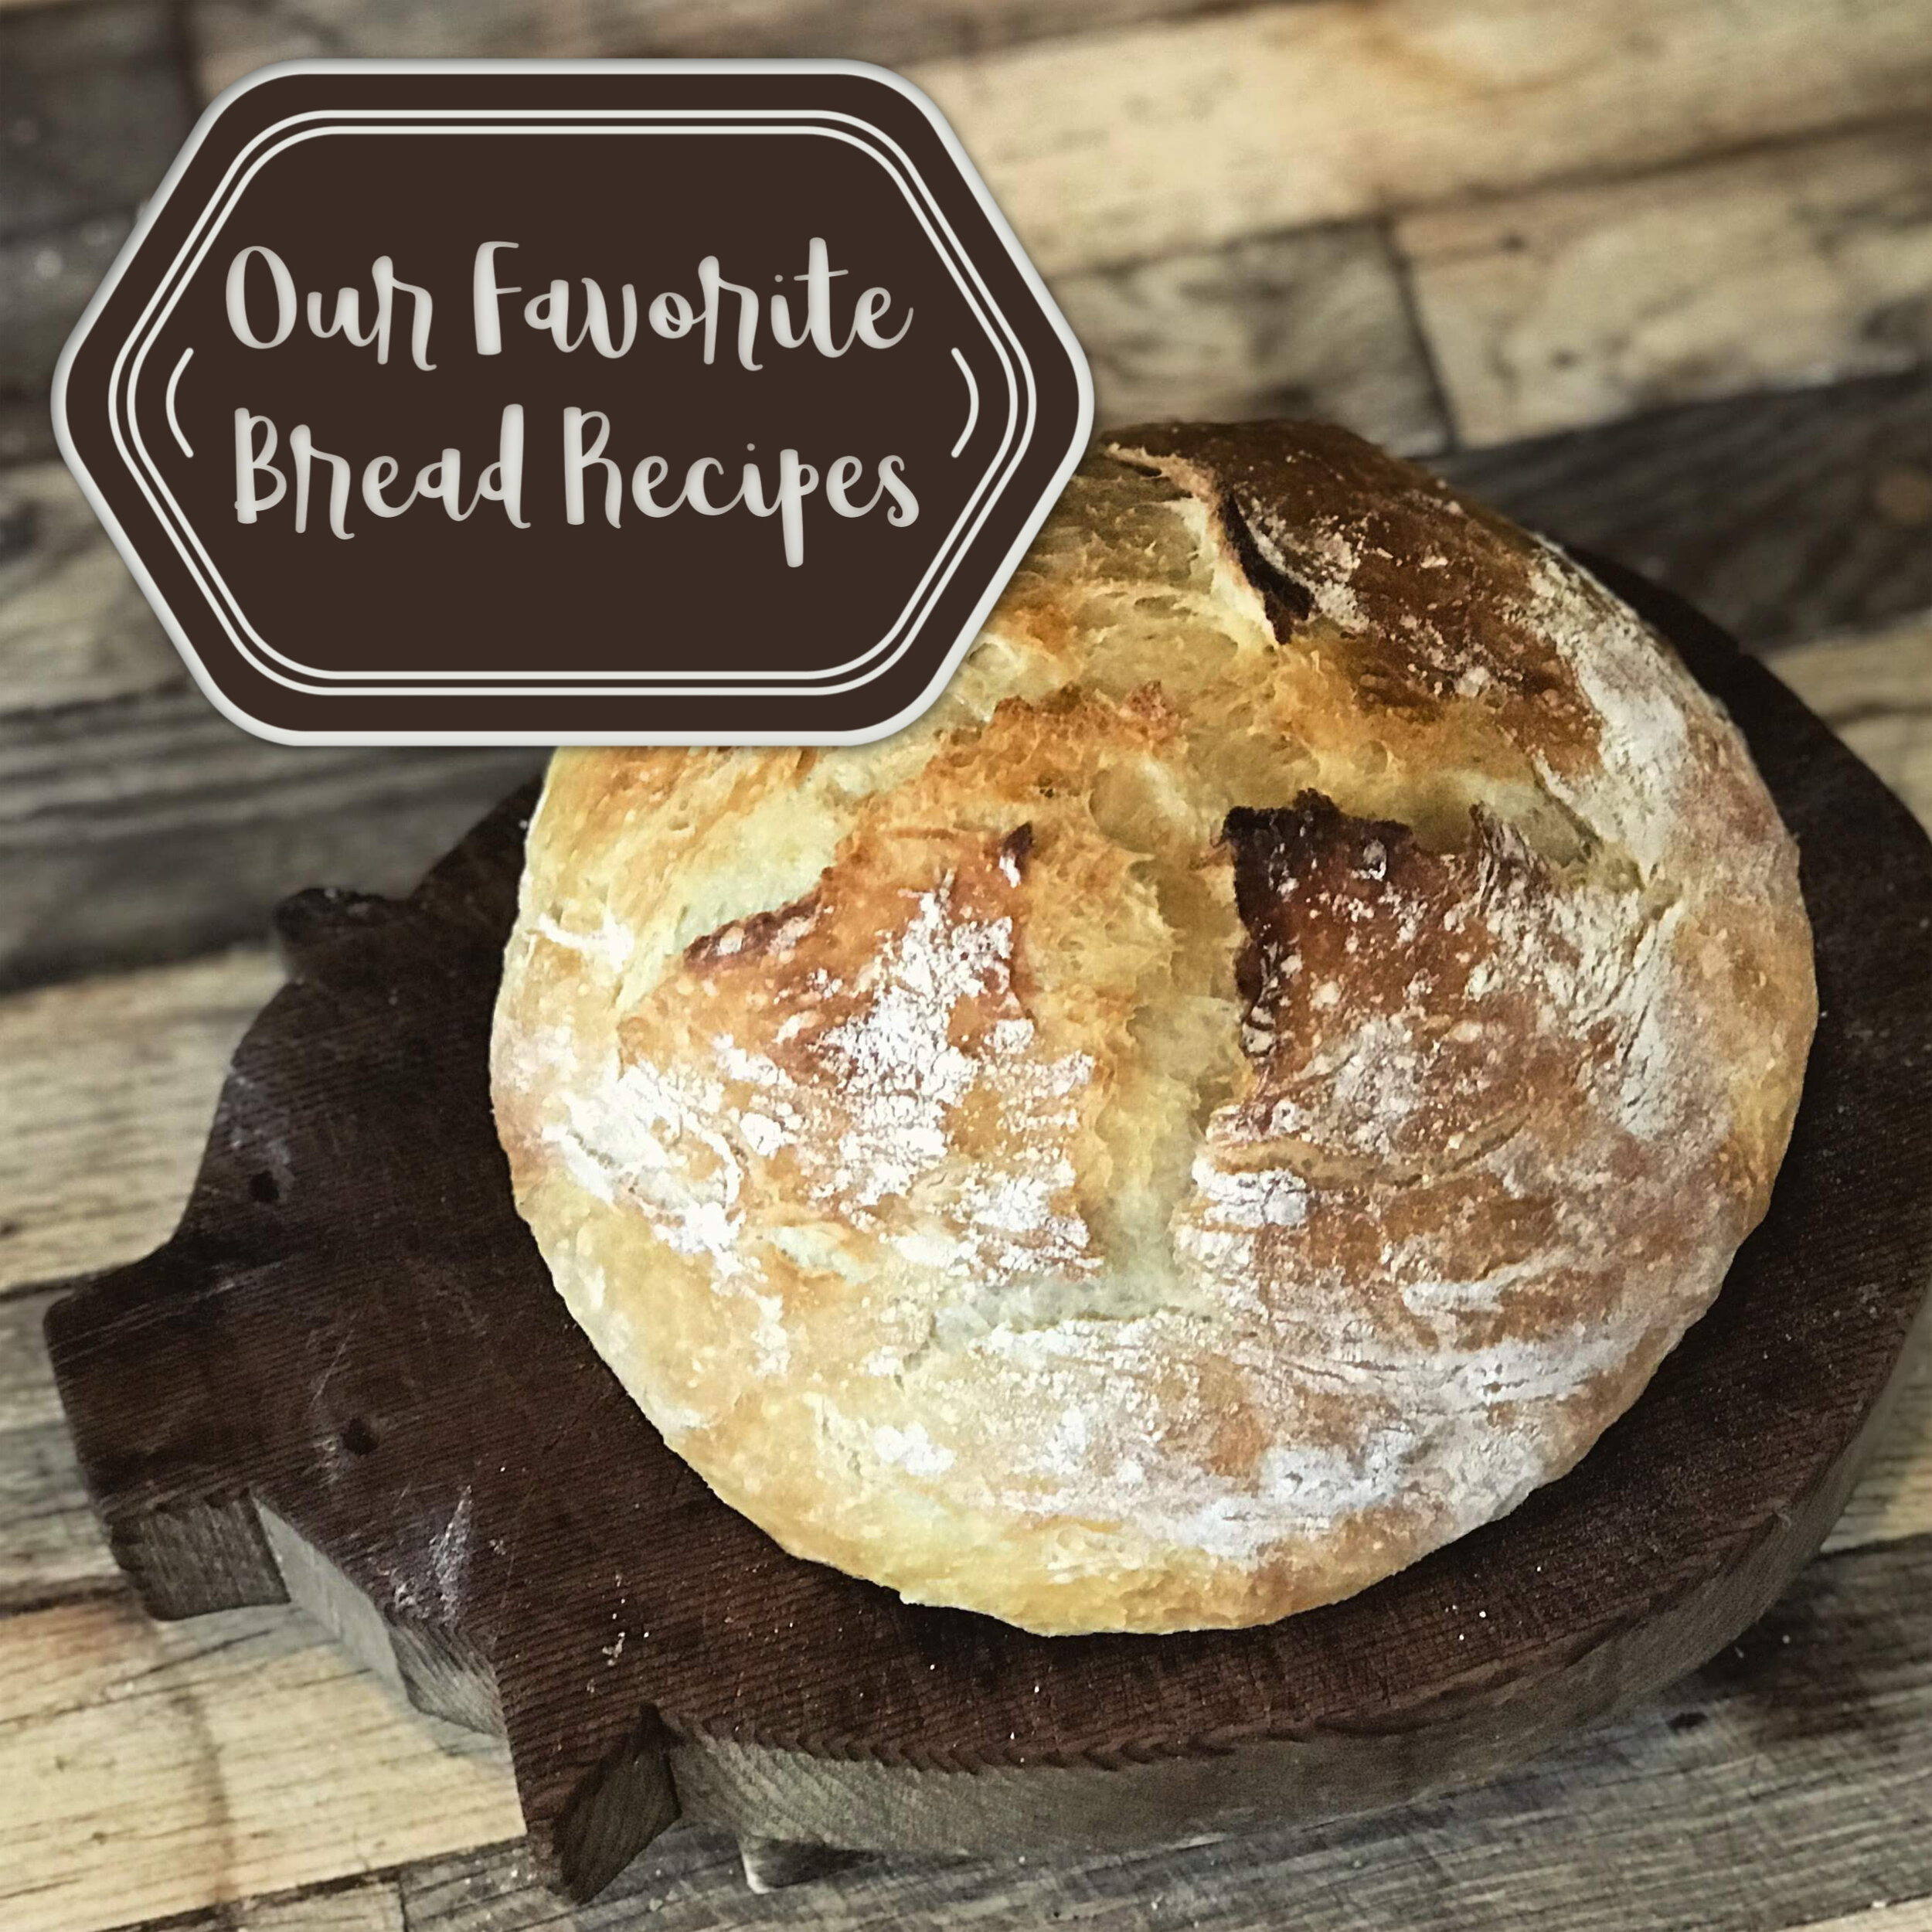
The first is a simple no-knead recipe for one boule — you’ve probably seen versions of this shared all over the internet. The second is a more traditional recipe for white sandwich bread. Ready!?

Simple No-Knead Bread
Ingredients
3 cups bread flour
1 1/2 teaspoons salt
1 teaspoon instant yeast
1/2 teaspoon granulated sugar
1 1/2 cups warm water
1 Tablespoon oil
Start this recipe a day ahead to allow for rising time. Or, if you have an Instant Pot with a yogurt setting, read on to learn how to proof your dough in less time!
Instructions
Whisk together the flour, salt, sugar, and yeast in a large bowl, then add the warm water and stir together until combined. Don’t over knead! Your dough will be shaggy and sticky.
Cover your bowl with a clean flour sack or tea towel and leave on the counter overnight 18-24 hours. It should double in size.
NOTE: If you have an Instant Pot with a Yogurt button, you can proof the dough in about 4 hours. Place your dough on a piece of parchment in the Instant Pot’s liner, press the Yogurt button, adjust it to LESS and set the time for 4 hours. Cover with a glass lid or a plate. (You can also use a bit of olive oil to coat the dough instead of using parchment. Just put about a teaspoon of oil in the bottom of the pot, place the dough and roll it around to coat it.)
The next day (or after 4 hours), you’re ready to bake. Preheat the oven to 450 degrees with a dutch oven inside. Make sure to leave the lid off the dutch oven.
On a lightly floured surface, gently shape your dough into a ball and allow to rest for about 30 minutes.
Quickly and lightly score the top of the dough with a very sharp knife in the shape of an X.
Take your heated dutch oven out, pour in 1 Tablespoon of oil (we use olive) and carefully drop the ball of dough into the center. Cover the dutch oven with the lid and bake for 30 minutes.
After 30 minutes, remove the dutch oven lid and bake for another 10 minutes or until golden brown.
Remove from the oven and allow to cool before slicing. (But honestly, who can resist bread hot from the oven? You can tear off pieces before it’s cool.)
Note: You can use all-purpose flour in this recipe, we just like bread flour. If you want to use wheat flour, only use 1 cup out of the three, or your bread will be too dense!
When we’ve got a little more time available and feel like getting a dough-kneading workout, this is a wonderful recipe that yields three loaves! You can freeze the extras, if they last that long.

Basic White Sandwich Bread
Ingredients
4 cups all-purpose flour
1 1/2 Tablespoons instant yeast
2 Tablespoons granulated sugar
2 Tablespoons melted butter
4 cups warm milk
1 1/2 Tablespoons salt
6 cups (approx.) bread flour or all-purpose flour
Instructions
Whisk together the 4 cups of all-purpose flour, yeast, and sugar in a large bowl. Make a small well in the center and pour in the melted butter and warm milk.
Mix well and continue to stir while slowly adding 1 cup of the bread flour at a time until you’ve added 4 cups. This will take several minutes and your dough will become shaggy and sticky.
Cover the bowl with a clean, damp flour sack or tea towel and let it rest for about 20 minutes.
After 20 minutes, add the salt and 1 more cup of bread flour and stir. If the dough is still too sticky to knead at this point, you can add up to another cup of bread flour.
Turn the dough onto a floured surface and knead until it is soft and smooth, about 10 minutes. It’s best to keep your hands floured and you can sprinkle a little flour onto the dough as you work to keep it from sticking. You want the dough to be soft but not sticky.
Sprinkle a little flour into the dough bowl and drop the dough into it. Sprinkle more flour on top of the dough, re-cover the bowl with the damp towel and let it rise until it has doubled in size. This should take about an hour or more at 70 to 75 degrees. If your space is cooler, the rise will take longer (and some say makes for even better tasting bread).
Time for the second rise. Turn the dough onto a lightly floured surface and flatten it gently. Divide the dough into three pieces. Shape the pieces into loaves and place seam-side down in greased loaf pans. Cover with a damp flour sack or tea towel and let them rise for another 60 minutes. You should be able to gently poke the dough with a floured finger and have it spring back.
Preheat the oven to 375 degrees. Once heated, bake the loaves for 35 minutes or until they are a golden brown. Removed the baked loaves from their pans immediately and let them cool on a wire rack. Wait until the loaves are cooled before cutting, as they finish baking while cooling.
You can freeze the extra loaves in freezer bags. Be sure they are completely cooled before sealing them into bags.
